Create a form
Acumbamail has a system that allows you to create and integrate subscription forms so that your customers can subscribe directly to your Acumbamail lists. You can integrate these forms into your website, create a public link to share, or embed them directly into a landing page.
In this article
From the new forms section, within each list, you can create all the forms you need for your list:
Creating a form
Go to the Lists tab within Newsletters and select an already created list. From the main page of your list, click on Forms; from here you can design, configure, and share your forms.
Click on the New form button and choose the type of form you want to create:
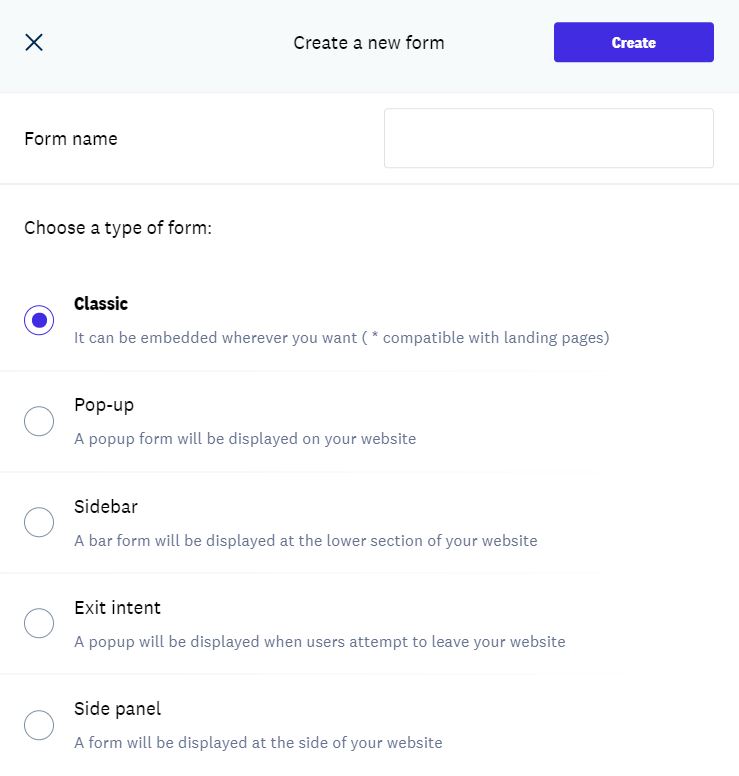
You can choose among six types of forms:
- Classic: This type of form can be inserted in any position on your webpage. To integrate it, you simply need to copy and paste the form script and a tag in the position where you want it to appear. This type of form also has a web version that you can share directly with your subscribers, link on social media, or include in an email marketing campaign, among other uses. It also provides clean HTML code without styles, in case you want to integrate it into your system. Additionally, you can include this type of form in a landing page simply by dragging it into your landing page, without the need to copy code.
- Pop-up: This type of form is hidden when entering a webpage and is displayed when certain conditions are met.
- Exit intent: This form looks similar to a pop-up form, but it appears when someone tries to leave our webpage (by moving the mouse pointer to the upper right corner to close the tab) and in that case shows the form before they exit.
- Bar: This type of form allows us to integrate a subscription bar at the top or bottom of a webpage. Additionally, we can choose whether it appears or disappears as we scroll up or down (depending on the scroll) while navigating the page, making the form less intrusive.
- Side: This is a form similar to the bar type, but in this case, it will be displayed on the side of our website. Ideal for taking advantage of the fact that wider monitors are used every day, and there is always space available horizontally.
Setting up and designing a form
After creating a new form or editing one you already have in the My forms tab, you will see that we show you 4 steps to design and configure your form:
Step 1 — Template
In this first step, you can choose one of our templates that will serve as the initial design of your form from the Pre-designed tab or you can also choose from designs you have used previously in the My templates view, which will appear by default.

Step 2 — Configurator
Once you select a new or old template, you will access the configurator to set the fields included in the form, its behavior, and effects according to the selected form type:
Configuration options for all forms:
You must choose what the form's behavior will be when the user registration is completed, among the following options:
- You can show a custom message that will appear when the registration is completed. For example, if in this form you have requested double confirmation with a confirmation email (what is known as double opt-in), you can refer to that email. Remember that you can modify the confirmation email for subscription and unsubscriptionin the Notifications section of the list.

- Instead of plain text, you can enter your own HTML that will be displayed when the registration is completed.

- If you want to redirect the subscribed person to a specific page on your website (like a thank you page or even a preferences center), you can add the URL in the Redirect to a URL section:

Sometimes, the person who completed the registration may have already been added to your list before. In that case, you can customize the message that will appear upon completing the registration:

Additionally, you can enter the value you want for those hidden fields and non-editable fields previously added to the list (or leave them empty if you do not want to use them). For list-type fields, you can choose a single option from the previously configured ones, or none. Checkbox-type fields have two fixed values, yes and no, although they can also be left empty. For decimal and integer types, only numeric entries are allowed, and for date types, a value will be chosen from the dropdown calendar. The rest are text entries with a format according to the type of field. For more information, you can visit the section on list fields. Once the value is indicated, in the design step you can add them as if they were normal fields, although the subscriber will not be able to see them.

Configuration options for pop-up and exit intent forms:
In addition to the configuration options mentioned above, pop-up and exit intent include additional configuration options:
- Appearance mode (only pop-ups): At what specific moment the pop-up will appear:
- When clicking on an element on the page
- After X seconds since arriving at the page
- When navigating or scrolling through the page, after visiting a specific percentage of the page, for example, the top
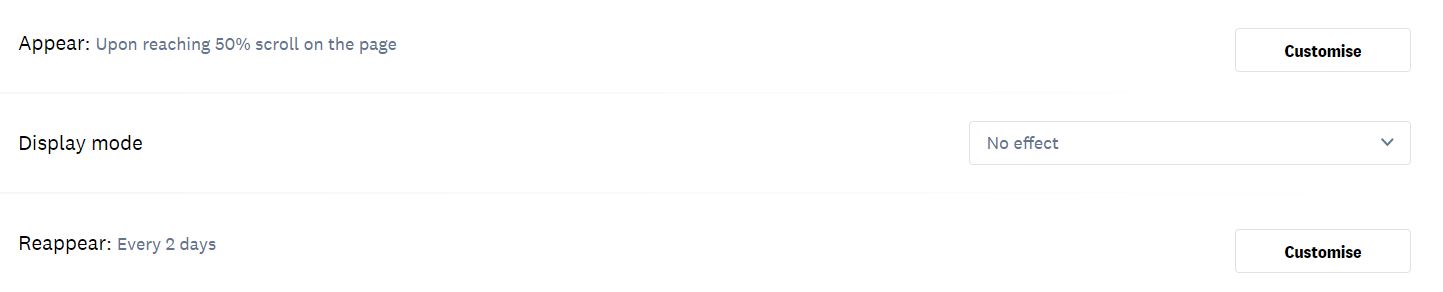
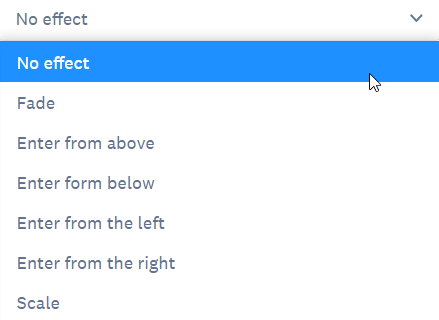
- Appearance effect: here you can select a specific effect for the pop-up window:
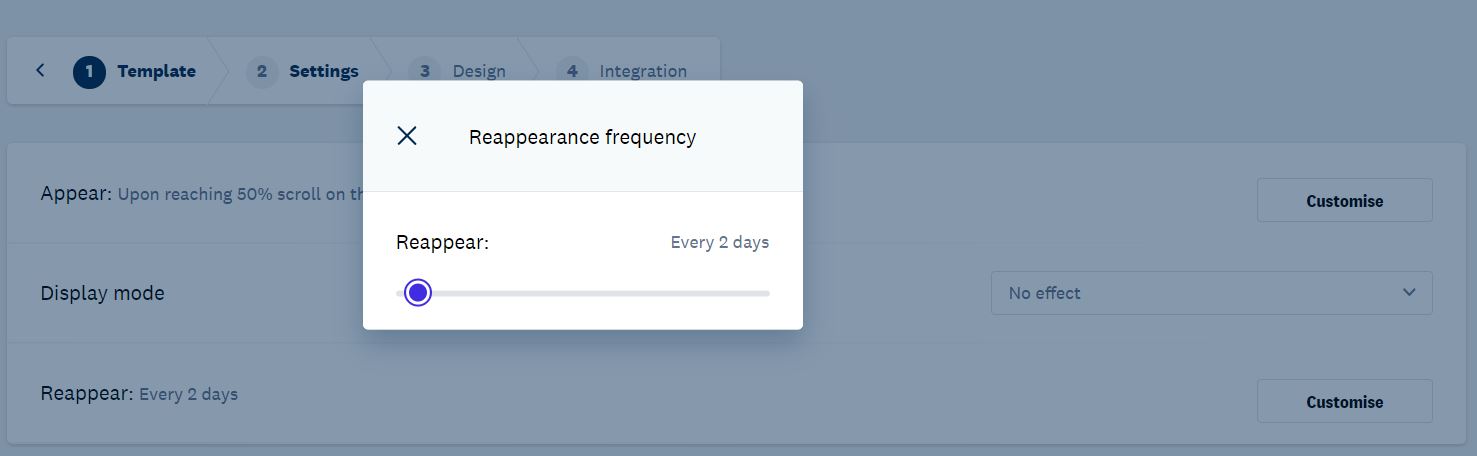
- Reappearance frequency: how often the pop-up or exit intent will reappear for those visitors who return to your website and have not yet completed the registration:
Configuration options for bar-type forms:
- Activate when scrolling on the page: You can choose whether the bar will always be visible or if, on the contrary, it will hide or show when navigating through the page.
- Bar position: To indicate whether it is placed from the top or bottom.
- Reappearance frequency: how often the form will reappear for those visitors who return to your website and have not yet completed the registration.

Configuration options for side forms:
- Position of the side form: to establish the orientation of the form.
- Reappearance frequency: how often the form will reappear for those visitors who return to your website and have not yet completed the registration.

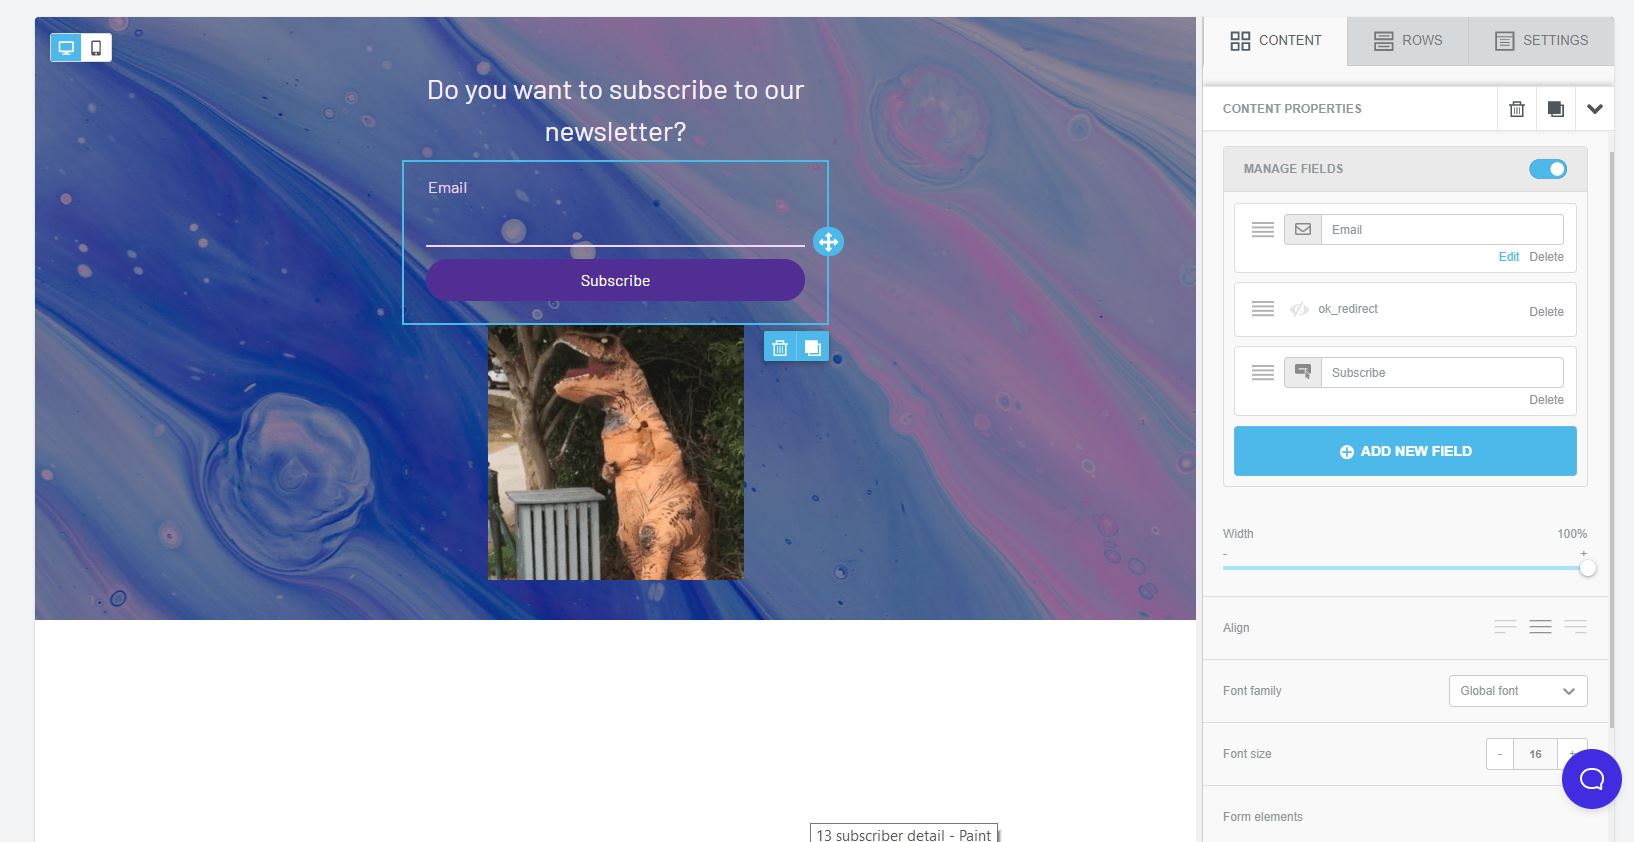
Step 3 — Design
Classic form design
In this step, you will access the form editor, which works almost the same as the template editor; you can drag and drop the modules you need to create your form, whether they are general modules like images, texts, lines, etc., or specific modules (fields) from your list.

By default, only the email field will appear. Remember that if you want to add custom fields to your form, you must first have created the relevant fields in your list.
To add more fields from your list, click on your email field and click on Add a new field on the right:
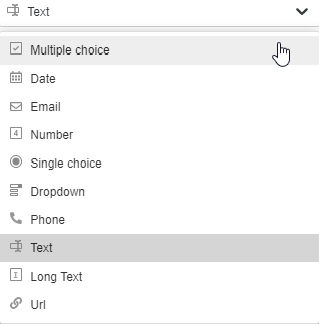
You will access a dropdown menu with the fields created in that list by type:
- Text (char)
- Date (date)
- Checkbox (boolean)
- List (Combobox)
- Integer (Integer)
- URL
- Decimal number (decimal)
- IP
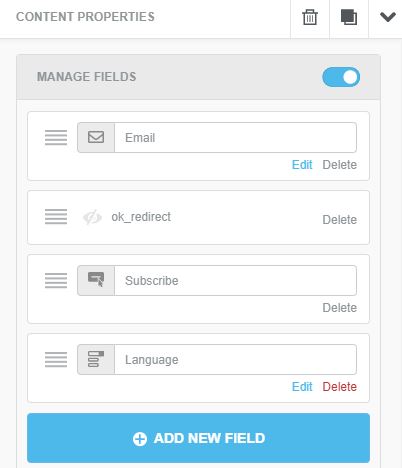
Once you select them, you can comfortably edit them one by one by clicking on the blue text of Edit. You can also change their order in the form by clicking and dragging on the icon of the parallel lines on the left.
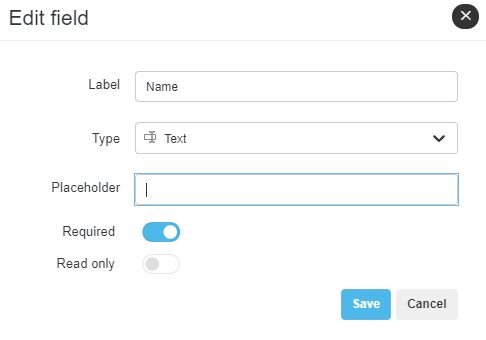
When you click on Edit on a specific field, a pop-up will appear where you can configure:
- The name of the field
- The type of field (text, multiple choice, date, email, number, single answer, dropdown, phone, long text, and URL)
- The help text for that field (the text that the person will see inside the specific field when viewing the form, for example, "enter your email here")
- If it is mandatory to fill in the field to complete the registration
- If it is only a read-only field
Some particularities to keep in mind for certain fields:
- Multiple choice fields can function as checkboxes/boolean to accept your company's privacy policy. In that case, you should leave the Options field empty.
- For the form to fill in the hidden or non-editable fields of the subscribers, you must add those fields in this step as if they were normal fields.
- If your list has list-type fields with multiple visible options, when adding them to the form, a checkbox-type field will be added for each option.
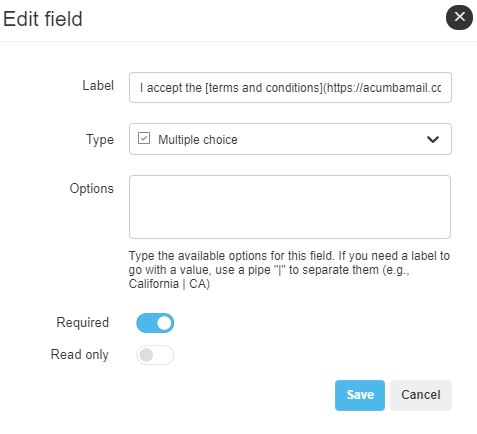
If you want to add a link to your privacy policy, follow these steps:
- In Label, write what should appear in the field, for example: I accept the terms and conditions.
- Put in brackets [] what you want to be your anchor text, that is, the text that will take you to the link when clicked, for example: I accept the [terms and conditions].
- Immediately after the anchor text you have chosen, and without adding any space, add the link to your privacy policy in parentheses ()
This would be the result:
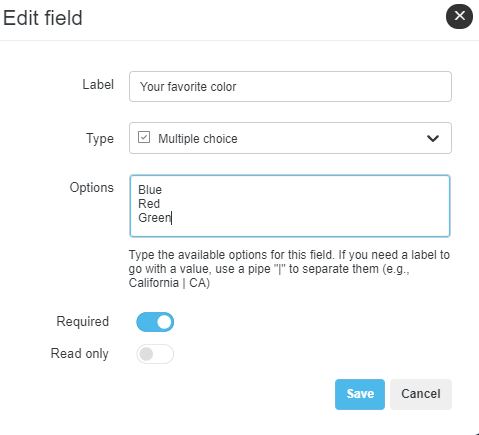
If you want to include a multiple choice question, add each clickable option on a line in the Options field:
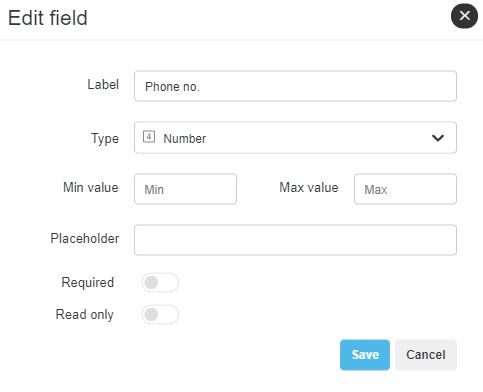
- In number type forms, you can select a minimum or maximum valid number:
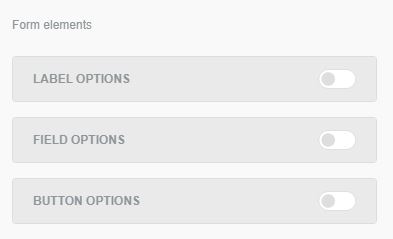
Finally, further down the right menu, you can modify the style of the form elements (labels, fields, and button):
Pop-up form design
The editing of the form is similar to that described in the previous section for classic forms. However, you will be able to visualize your form in its final position within the editor, thus showing a preview closer to the real one. This allows you to get a better idea of how the form will look on your webpage once integrated.
It will depend on the specific position you have chosen, but below are a series of images illustrating the content of the editor for each of the four layouts:
-
Popup

-
Exit intent

-
Bar

-
Side


Step 4 — Integration
In this last step, we show you the different integration options for your form. Remember that these options are mutually exclusive, meaning you only need to choose one of them when performing the integration.
If you have created a classic form, you will have the following options:
- Option 1: Integration script. Copy the <script> tag and the <div> tag generated. The script element will allow you to download all the necessary javascript code to your website (place it before closing the <body> tag). Place the div element in the location where you want the form to be displayed on your website. This is the best option, as it allows us to update your form with improvements in performance and security for a higher open rate of your lists in your campaigns.
- Option 2: Share link. You will also have a link of the type www.acumbamail.com/newform/web/(...) that you can share directly (on social media, in a button of a campaign for your subscribers to complete the registration and automatically appear in your list included, etc.).
- Option 3: Embedded HTML without styles. We also show you the HTML code so you can copy the form wherever you want without styles or functionality. When integrating it, you must insert it into your page and give it these properties later. This option requires periodic review for security updates, thus achieving greater effectiveness of your lists in your campaigns.
- Additionally, if you want to integrate your classic form into a landing page, you will need to go to the specific landing page and drag it from the page editor.
If you have created a pop-up form, you will have the following options:
- Integration script. The <script> tag is generated, which you must copy before closing the <body> tag of your website. Optionally (depending on the opening option chosen in step 2) examples will also be shown to indicate how you should modify the element on your page that opens the form (when clicking on it).
If you have created a bar, side, or exit intent form, you will have the following options:
- Integration script. The <script> tag is generated, which you must copy before closing the <body> tag of your website. Since they already have a predetermined location on the webpage (as configured in step 2), no additional tags are required to locate the form.
Finally, if you have a form of any type that you want to integrate into your website with WordPress, you can easily do so through a plugin.
Checking the statistics of a form
You can check the statistics of your form once you have it inserted. To do this, you need to go to the subscriber list where you have hosted the form, go to the Forms tab, and click on the ellipsis button to select
View statistics.
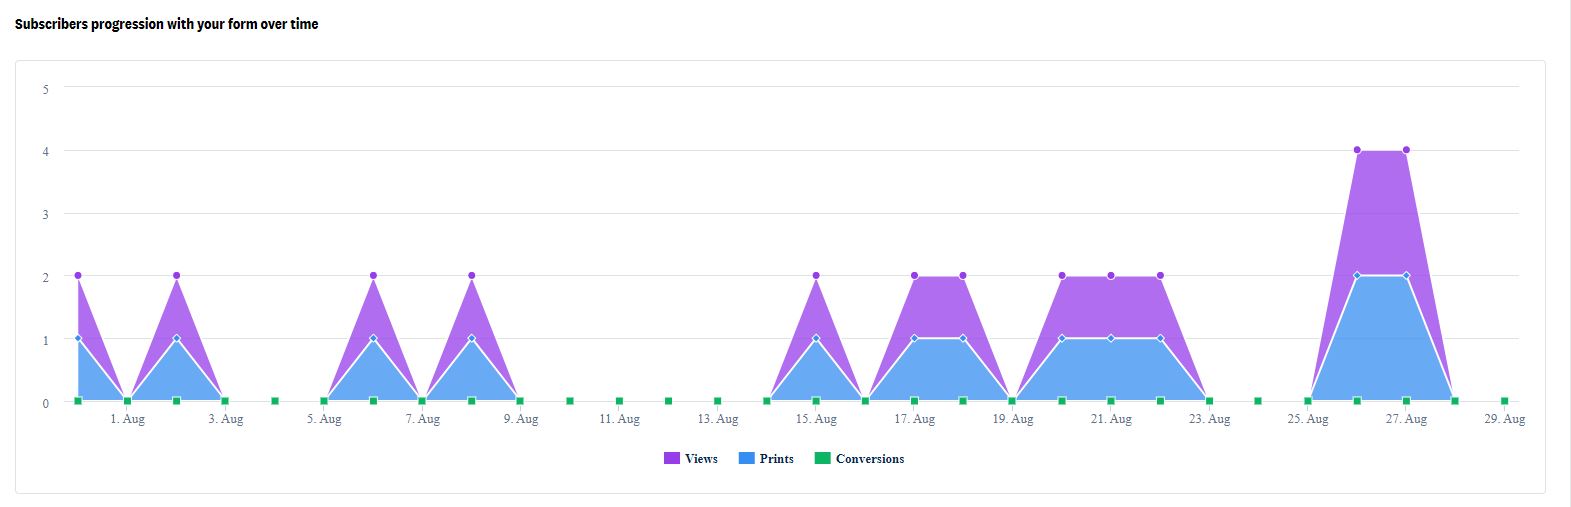
You will be able to track:
- Visits: how many times the page where the form is inserted has been visited
- Impressions: number of times the form has been displayed (if you have not configured for the form to be displayed every time the webpage is visited, it is normal for impressions and visits not to match)
- Conversions: how many users have subscribed
- Conversion rate: percentage of conversions for this form
Frequently asked questions
How can my subscribers modify their data?
When they enter their email in any of your forms, if they are already registered in that list, a message will be shown to them in case they want to modify or complete their data.
If they click, they will be sent an email to access a complete form, with all the fields that your list has, so they can modify or add what they want.
You can configure a message for these subscribers in step 3 of the form configuration.
Do I have to pay to use the forms?
No, but with the free plan, you can only use the classic type. If you have any paid plan, you can use the rest.
Is it mandatory to save a cookie when using the form?
If you want your forms not to be shown over and over again, yes. It is the only possible way to know if the form has already been shown or if someone has already registered previously. You should not worry about privacy as this cookie does not store any type of information, it only keeps the value True.
Why are there no unsubscription forms?
Unsubscription forms are outdated. They were previously used because it was the only way to unsubscribe from a newsletter. At Acumbamail, we comply with regulations and require all our clients to include the unsubscribe link in every newsletter, so that a subscriber can unsubscribe whenever they wish.
When editing, I cannot add fields to the form
In the editor, we show you the available fields in your list; if you want new fields, you must go to the List fields tab where you are creating the form and add the fields you need.
Can I add a recaptcha to my form?
At the moment, we do not have the option to include a captcha in our forms, but we plan to implement it in the future.
For now, you can integrate your Acumbamail lists with your own form that does include it, you can find more information about our integrations here.
How can I improve the security of my forms?
Always use the integration script instead of the embedded HTML and enable the double opt-in in your lists to prevent bot attacks and increase the effectiveness of your campaigns.